transceivers. Application of MWO SIG 11-2258-
ceivers TT-1B/TXC-1 through TT-1F/TXC-1.
2 to Rectifier Power Unit PP-86/TXC-1 makes
No provision is made to connect 115 volts, 60
possible the use of this unit with all models of the
cycles ac from the power unit to the transceiver
transceiver.
to start the new motor on the new or modified
Section V. DISASSEMBLY AND LUBRICATION OF EQUIPMENT AT FIELD
MAINTENANCE LEVEL
and Lubrication Order 11-2258 (fig. 26) for
reference.
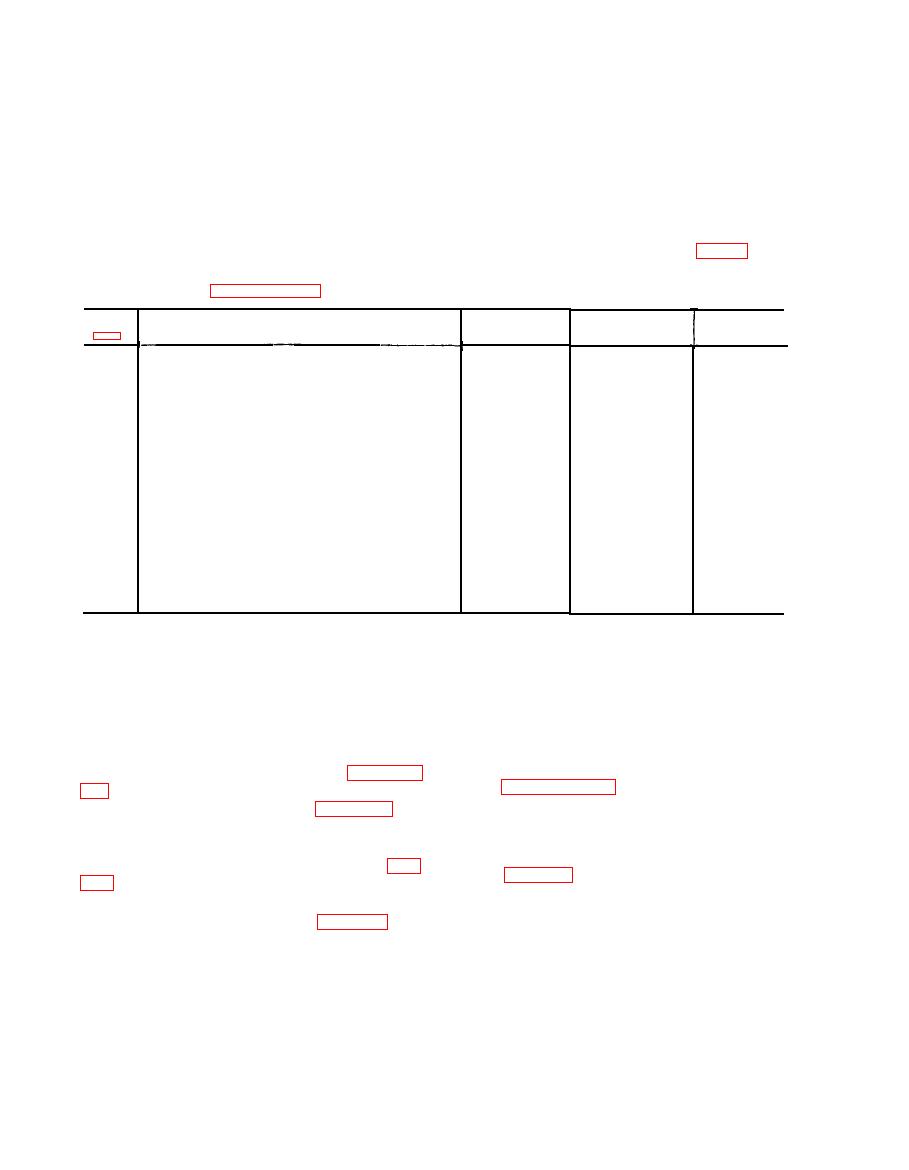
Disassemble and lubricate the items listed in the
following chart; use paragraphs 136 through 139,
Item No.
Lubrication point
Lubricant
Amount
Interval
6
PL SPECIAL
Secondary clutch dog latch pivot ------------------
1
drop -----------
Monthly
7
Dog trip arm pivot ------------------------------
PL SPECIAL
1
drop -----------
Monthly
8
Clutch rings ------------------------------------
OCW
1
or 2 drops ------
Semiannually
9
P h a s e m a g n e t armature pivots --------------------
OCW
Semiannually
drop -----------
10
Drive shaft bearings:
Sealed bearings ------------------------------
1 or 2 drops ------
Semiannually
PL SPECIAL
Unsealed
bearings---------------------------
Pack -------------
Semiannually
GL
11
Lead-screw bearings:
Sealed bearings ------------------------------
1 or 2 drops ------ Semiannually
PL SPECIAL
P a c k - - - - - - - - - - - - - Semiannually
Unsealed beatings ---------------------------
GL
12
Motor bearings:
Thin film --------- Weekly
AN/TX-1 and -1A, top and bottom bearings. -
GL
1 or 2 drops ------ Weekly
AN/TXC-1 and -1A, top bearing (no disas-
PL SPECIAL
sembly required).
AN/TXC-1B and -1C -----------------------
1 or 2 drops------
Monthly
PL SPECIAL
1 or 2 drops ------
Monthly
Synchronous rotor bearing --------------------
OCW
e. The remaining retainers and plates will slide
136. Clutch
free. It will not be necessary to remove the hub
Disassembly of the clutch for cleaning should
for cleaning purposes; the hub can be cleaned on
be performed only by qualified personnel. Or-
the drive shaft.
ganizational personnel should clean the external
f. Thoroughly clean all parts with a clean, lint-
surfaces of the clutch daily with a lint-free cloth
free cloth dampened in solvent (SD). Dry the
slightly dampened in solvent (SD). Dry thor-
parts with a clean, lint-free cloth.
oughly with a dry, lint-free cloth. Lubricate the
g. Lubricate the rings in accordance with the
clutch in accordance with the chart in paragraph
chart in paragraph 135. To reassemble, reverse
the order for disassembly.
ternally every 3 months. Refer to figures 115 and
h. Run the motor for a few minutes with the
116 for location of parts. Use the following pro-
clutch stop arm stopped. Wipe off excess oil and
cedure to disassemble the clutch for cleaning:
adjust the tension of both primary and secondary
clutches (par. 106). Run the motor for at least
15 minutes with the clutch locked up. Again
working on the clutch.
measure the tension of both clutches. If the ten-
sion of the clutches is not stabilized, repeat ad-
116) from the secondary clutch bearing (N). Be
justments and running-in process.
careful not to lose the pressure springs (0).
c. Remove the secondary clutch bearing (N) and
secondary clutch ring (Q).
a. Equipment with Sealed Bearings. Disas-
d. Remove the three flathead screws (K) from
sembly of equipment using sealed bearings (later
the retainer (H).
models) is not required for lubrication. Place 1 or


